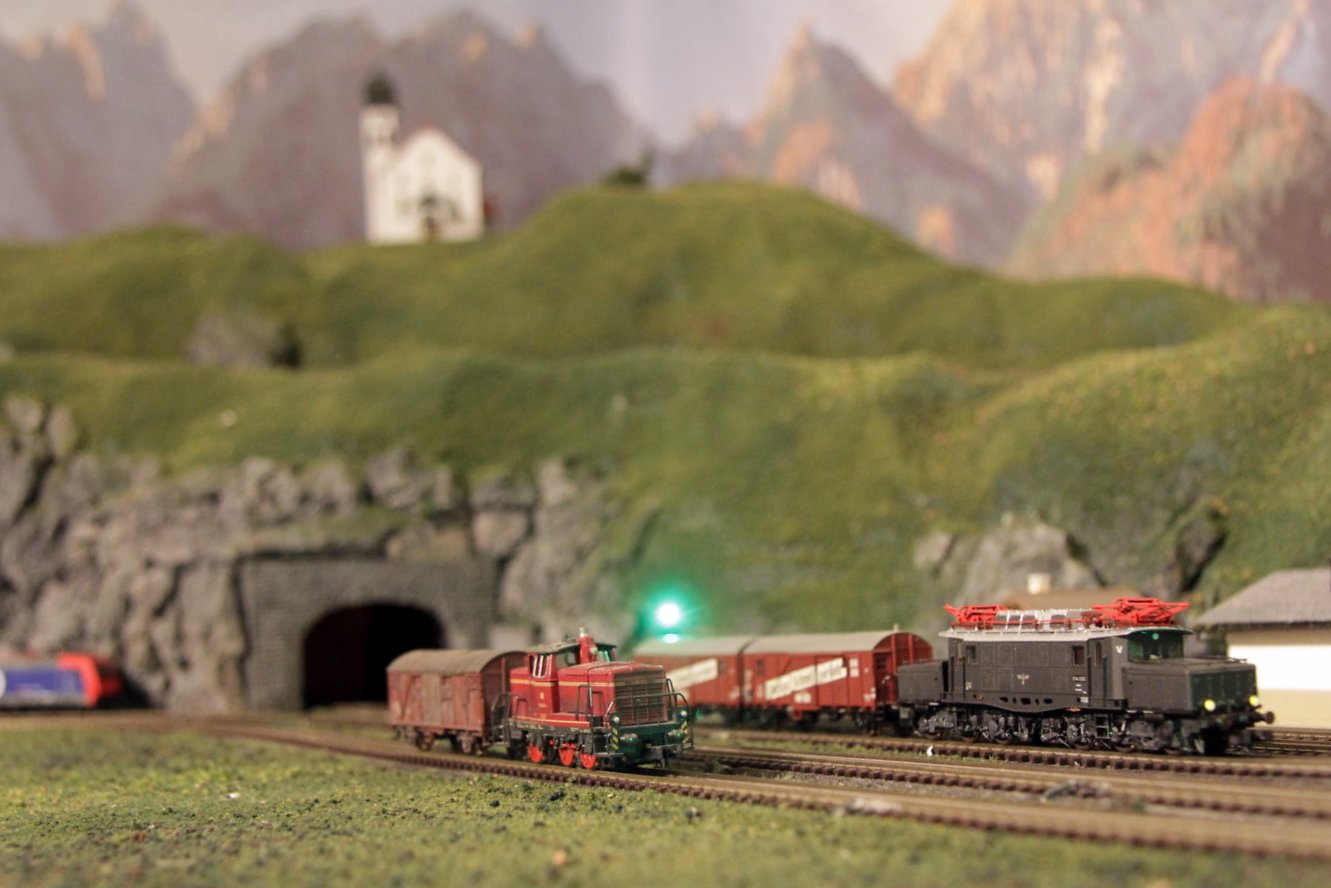
That's why I've been busy handing over control of the layout to my computer. I plan to post detailed reviews and comments on the software, hardware, setup and operation but for now this just a quick overview of what is new.
I had planned to use JMRI but found the support for track sensors somewhat lacking. Yes, I can make my display show where the trains are, but I din't see an easy means of making the trains respond, to route them as a result of sensor input wrapped up in a nice UI. So I needed new software, and didn't really know what. Happily my vague impressions of rail enthusiast stereotypes was enough to guide me- let me explain.
There are well established stereotypes of model railroaders. Americans build huge layouts in their giant basements and then go through comical efforts to role play the operations on their line, complete with little paper manifest cards and silly hats. The British, on the other end of the spectrum, seem to have no space at all for layouts and so form clubs that work exceptionally hard to reproduce single stations or sidings. Usually they focus on a single segment of a line that runs straight and terminates in their one station. Once built they then exhibit their layouts on a region circuit of weekly rail shows, each small town gets one a year. A ravenous public, starved of spare room, , gaps in wonderment at the fine detailing, which does seem to be exceptional. And then there's the Germans. The Germans seem bent on taking the human contact out of the hobby by over engineered massive yards that confuse the mind as they seemingly tessellate endless tracks and vastly improbable tracks running in every direction and then making computers sort it all out. Obviously, this appeals to me, so I bought German software. After all, my layout attempts to combine the classic American style whole room of landscape with the German zeal for automation, and if I get good enough I'll aspire to UK style detailing too, but I'm a ways off there yet.
So the software. I intend to rant in detail about the stupidity of the copy protection scheme. It's so annoying it merits it's own post. For now I'll just say that despite being able to download the full program and buy it online, the user has to then wait a few weeks for the vendor to mail out a hardware dongle. Seriously? A dongle? Argh! (What's a dongle you ask? It's a physical device you have to have plugged into your machine to run the software, something Autodesk used to use for 3D Studio Max and AutoCAD many years ago...you know, before the internet....) Anyhow, it's been a week and I'm still waiting to actually use the software, but I have embedded 15 vertical reed switches between the sleepers along my track, wired them up to two s88n feedback modules and seem the lights on the controller lighting up as expected. It's been fun, but now I need more parts. I've just ordered another 17 switches (for 32 total) but I strongly suspect I will need another module and 16 more switches before I'm actually done.
Below is an image of the layout in TrainController, and on the right hand side is the same as the software sees it via the sensors. You will notice that the right hand map has less detail, some sidings are missing, this is because it represents only what the system can monitor at present, as I add more it will gain a more complete picture.

Feedback Modules used: 2x LDT RM-88-N 16 fold standard feedback module. Has worked very reliably with the ECOS, no trouble to report. Used an old cat5e patch cable to chain 2 units, made the lengths needed for the sensor hookups much more reasonable. Only downside is the high minimum order needed from the manufacturer.
Sensors Used: Meder MK20/1 Reed Sensors. So far, so good, but no operational experience yet. Setup has been easy though.
Software (to be eventually) used: TrainController Bronze. Still waiting for the dongle. The documentation is good at least.